How To Add A Prompter
To add a prompter, in the bottom right of the application click the Settings icon.
 |
Then click on the Prompters icon.
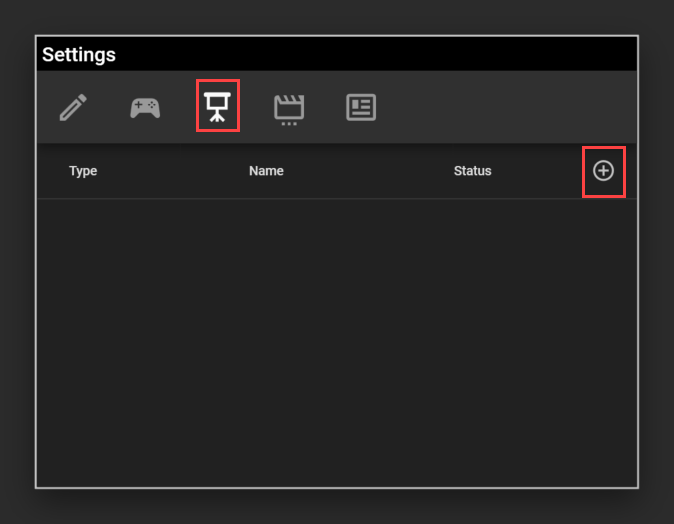 |
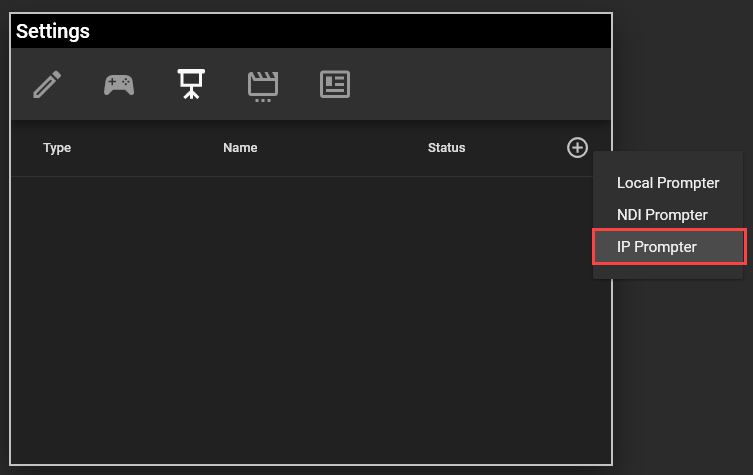
Click on the Plus icon to select which type of Prompter you want to add. You can choose between the following:
 |
Adding A Local Prompter
 |
A local prompter is any screen which is attached to a display output via HDMI, VGA or Display Port.
Autocue Explorer
Notice
This is limited to one enabled Prompter.
Autocue Pioneer
Notice
This is limited to three enabled Prompters
After clicking Local Prompter you will see a number of fields.
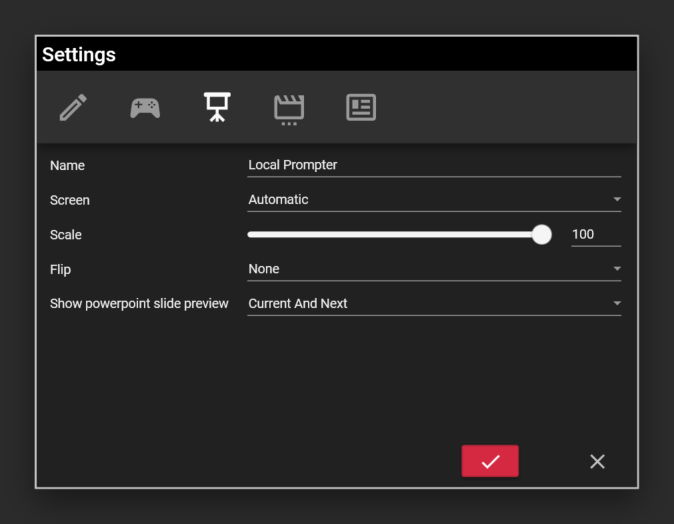 |
Name
This will display Local Prompter when first launched. You can type over this with a friendly name.
Screen
If no screen is attached, this option will be set to "Automatic", when a screen is attached, you will be able to select and define your screen.
Scale
The Scale option allows you to shrink your Prompter output.
Flip
Define how you want your Prompter output be flipped. Select between the following:
Flip Horizontal
Flip Vertical
Rotate 180°
Show PowerPoint Slide Preview
Only available for Pioneer; Will offer you options for different views of your Powerpoint. Following options are available:
Hide Preview
Current Slide
Next Slide
Current and Next
Only Current Slide
Only Next Slide
Only Current and Next
Confirm your settings by pressing on the checkmark  on the bottom right or cancel the process by clicking on the cross.
  .
.
Adding An NDI Prompter
An encoded, low latency, frame-accurate video stream of the Autocue prompter video will be generated which can be detected and added to any NDI video system.
 |
After clicking NDI Prompter you will see a number of fields.
 |
Name
This will display “NDI Prompter” when first launched. You can type over this with a friendly name. This should be the same name as you have configured in NDI.
Resolution
This will allow you to choose the resolution of the NDI stream that you would like to send.
Use the pull-down to make your choice.
Frame Rate
This will allow you to choose the number of frames per second the NDI stream is generated.
Use the pull-down to make your choice of frame rate.
Note
It is advisable to test the quality of the NDI image before setting the resolution and frame rate as bandwidth can determine the smoothness of the received video stream
Adding An IP Prompter
An IP Prompter can be either an iPhone or iPad or an external video generator box (Autocue QBox).
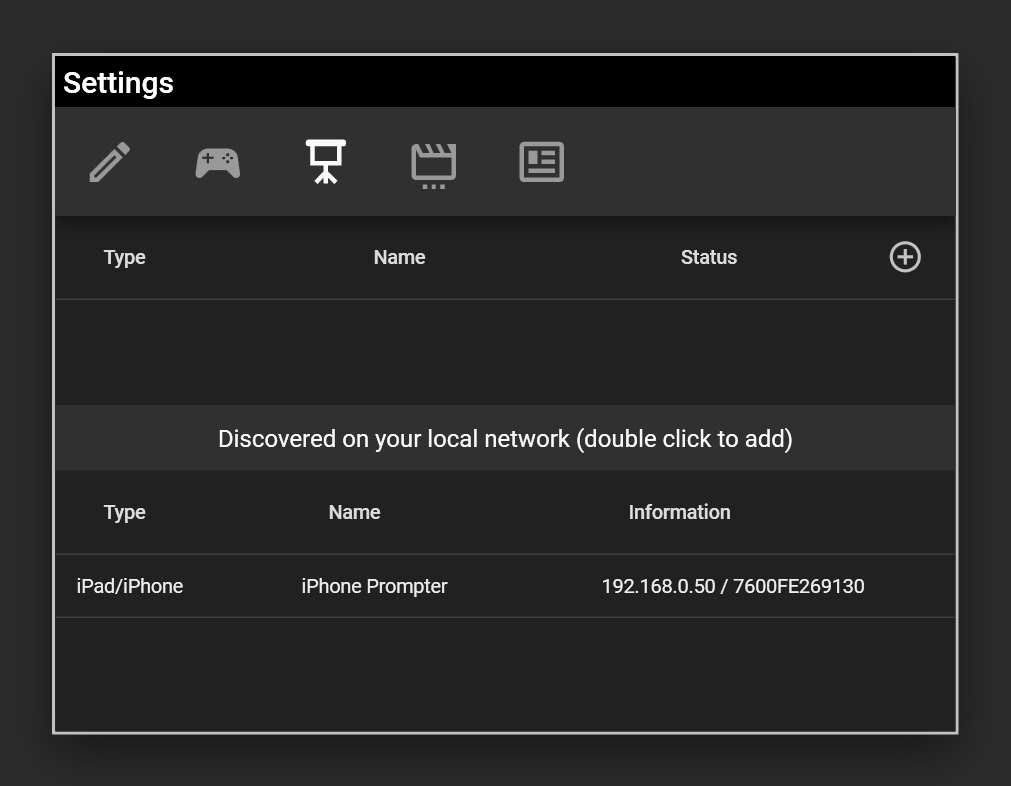
Any IP Prompters that are on the network and available to be added will appear automatically.
 |
To manually add an IP Prompter:
 |
After clicking IP Prompter you will see the default first type is iPad/iPhone.
To add an iPad or iPhone manually you need to enter the IP address.
 |
It will be shown in the Autocue app on the iPad/iPhone
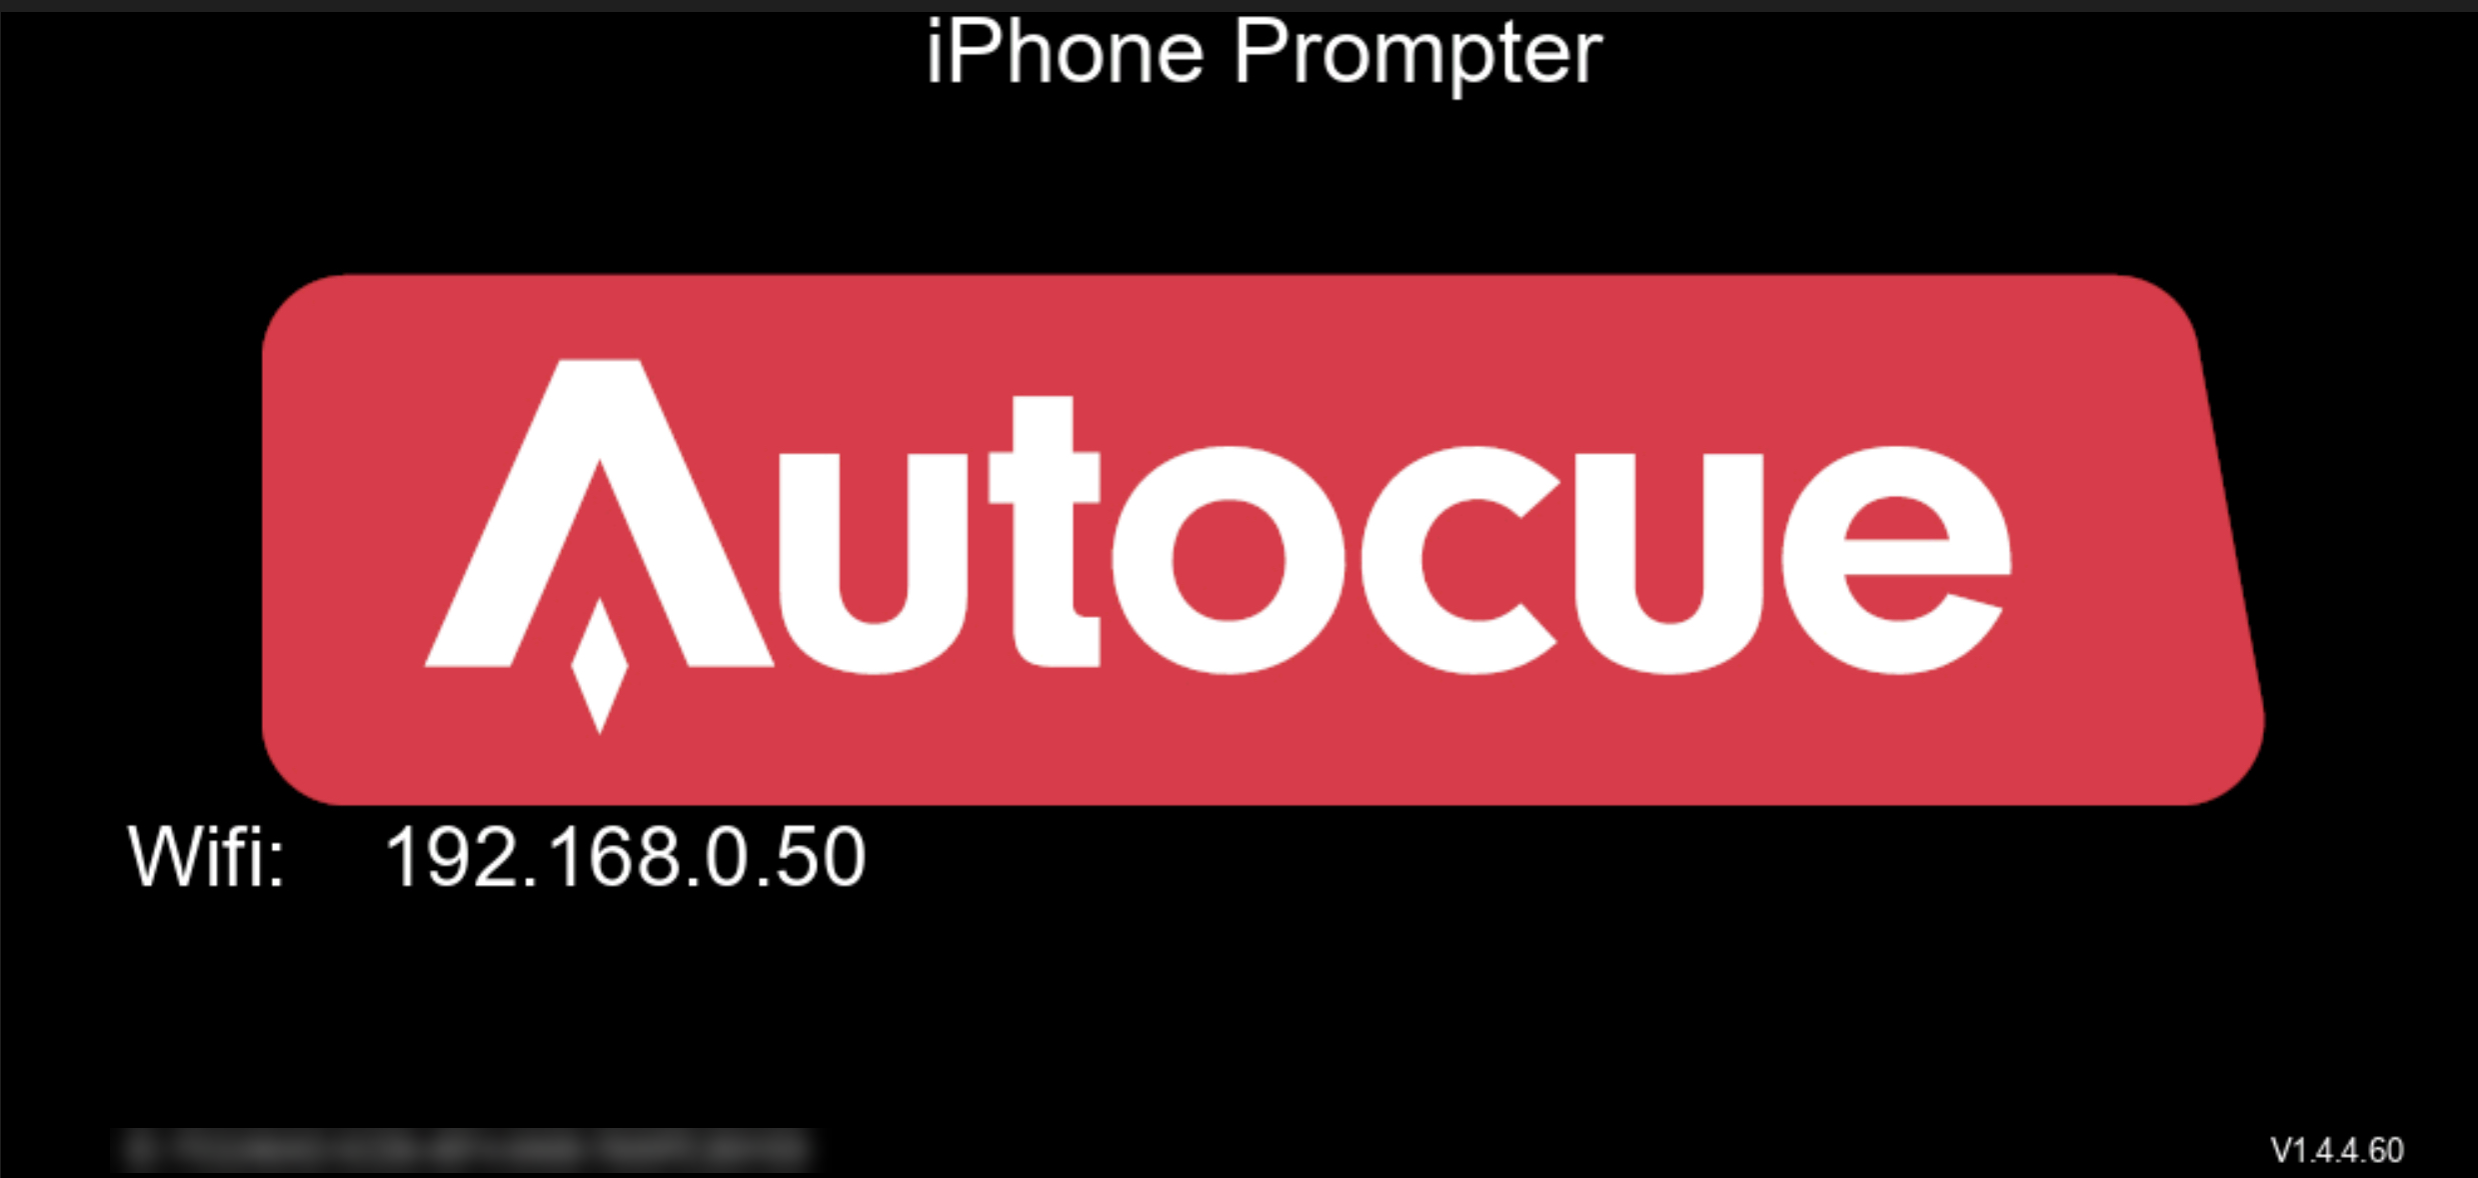 |
Once connected you can then rename the prompter.
To add a QBox use the pull-down to select.
 |
To add the QBox manually you need to enter the IP address.
Confirm your settings by pressing on the checkmark on the bottom right or cancel the process by clicking on the cross. .